
How to Choose a Fish Finder: A Small-Boat Buyer's Guide by Boat, Sonar and Budget
How to choose a fish finder for a kayak, canoe, jon boat or the ice: transducer mounting, sonar types, screen size, GPS, power draw and what each budget buys.
Affiliate Disclosure: This article contains affiliate links. As an Amazon Associate we earn from qualifying purchases, at no extra cost to you. We only recommend gear we would genuinely use ourselves.
To choose a fish finder, start with your boat, not the screen. Work out where the transducer will mount and how you'll power the unit, then pick the sonar type (2D CHIRP, down imaging or side imaging), then decide whether you need GPS and maps. Screen size follows from those choices. For most small-boat anglers, that leads to a 4–5 inch unit with CHIRP and down imaging, which costs about $190–$360 among the models below.
This guide is research-based. We compare manufacturer specifications, current retailer listings and owner discussions, and we say where each figure comes from. We haven't fished with these units ourselves.
The Short Version: Five Decisions in Order
- Transducer mount: where the sensor goes on your boat (transom, trolling motor, kayak scupper or arm, ice, or castable).
- Power: what battery it runs from and how long it has to last.
- Sonar type: 2D CHIRP, down imaging, side imaging, or live sonar.
- GPS and maps: none, self-built contours, or preloaded charts.
- Screen size: big enough for the sonar views you chose, small enough for your boat.
Most buying guides start with screen size and brand. On a small boat, the transducer and power decisions are the ones that decide whether the unit works at all.
Step 1: Match the Transducer to Your Boat
The transducer is the part that sends and receives sonar. It has to sit in clean, bubble-free water, and the right mount depends on the hull.
| Boat | Usual transducer mount | What to check before buying |
|---|---|---|
| Sit-on-top fishing kayak | Scupper mount, arm mount, or a kayak-specific transducer pocket | Does your kayak have a transducer pocket or a scupper that fits the transducer? |
| Canoe | Side-mount arm or clamp-on transom adapter | Canoes have no transom, so plan for a side bracket |
| Jon boat / aluminum boat | Transom mount, or trolling-motor mount | Smooth section of transom away from rivets and the prop |
| Small fiberglass boat | Transom mount | Transom angle and clearance from the outboard |
| Ice fishing | Ice transducer hung in the hole, usually from a manufacturer ice kit | Whether an ice kit exists for your exact model |
| No boat / rental boat | Castable sonar that pairs with your phone | Phone screen visibility in sun, Wi-Fi range |
Most fish finders sold for small boats ship with a transom-mount transducer. Some include extra hardware: retailer listings for the Garmin Striker Vivid 4cv say its GT20-TM transducer comes with both transom and trolling-motor mounting hardware. Others are transom-only in the box, like the Humminbird PiranhaMAX 4 DI's XNT 9 DI T. If you'll move the transducer to a trolling motor or kayak arm, check what's included before you buy.
On aluminum boats, owners on forums like iboats consistently point to the same cause of lost readings: a transducer mounted too high, behind rivets, or in prop wash. Placement matters more than the brand.
For kayak-specific mounting, see our best fish finder for kayak guide. For the ice, see can you use a regular fish finder for ice fishing. For jon boats and other aluminum hulls, see our best fish finder for jon boat picks.
Step 2: Check the Power Draw and Plan the Battery
Every mainstream fish finder runs on 12V DC. What varies is how much current it draws, which decides how big a battery you need.
Published figures for some common small units:
| Unit | Input voltage | Listed current draw | Source |
|---|---|---|---|
| Humminbird PiranhaMAX 4 DI | 10.8–20V | 180 mA (0.18A) | Humminbird spec page |
| Garmin Striker Vivid 4cv | 12–20V | 0.40A typical (1.5A rated) | Retailer listing; Garmin manual |
| Humminbird Helix 5 CHIRP GPS G3 | 10.8–20V | 615 mA (0.615A) | Humminbird spec page |
To estimate runtime, divide the battery's amp-hours by the draw. On paper, a 7Ah battery runs a 0.4A unit for about 17 hours and a 0.615A unit for about 11. Real runtime is lower: lead-acid batteries shouldn't be run flat, and screen brightness changes the draw.
On a boat with a trolling motor, you can share its battery with a fused lead or run a small separate battery for the fish finder. Garmin's Striker Vivid manual specifies a 3A fast-acting fuse; use the fuse your unit's manual lists.
Step 3: Pick the Sonar Type You'll Actually Use
For most small-boat anglers, CHIRP sonar plus down imaging is the right starting point. Side imaging and live sonar are upgrades for specific situations.
- 2D sonar (CHIRP): the classic view. Fish show as arches, and the bottom line's thickness tells you whether it's hard or soft. CHIRP sweeps a range of frequencies instead of sending one, which manufacturers say separates fish from each other and from the bottom more clearly. Most current units have it; some budget models still use fixed-frequency sonar (the PiranhaMAX 4 DI is listed as dual-beam at 200 kHz, not CHIRP).
- Down imaging: a thin, high-frequency beam that draws a picture-like view of what's directly below the boat. Brush, stumps and rock are easier to identify than with 2D. Each brand names it differently: Garmin ClearVü, Humminbird Down Imaging (DI), Lowrance DownScan.
- Side imaging: beams out to each side of the boat, so you can scan structure without driving over it. Garmin calls it SideVü; Humminbird calls it Side Imaging; Lowrance calls it SideScan. It needs a larger screen to be readable.
- Live / forward-facing sonar: real-time moving images of fish around the boat (Garmin LiveScope, Lowrance ActiveTarget, Humminbird MEGA Live). It's a separate, much more expensive system with its own transducer and power needs, and it's beyond what most first-time buyers need.
Check the exact version you're buying. Many models come in variants that differ only in sonar: the Humminbird Helix 5 CHIRP GPS G3 is 2D only, while the Helix 5 CHIRP DI GPS G3 adds down imaging.
Frequency, in one paragraph
Lower frequencies (around 50–83 kHz) produce a wider cone and reach deeper; higher frequencies (200 kHz and up) give a narrower cone with more detail. Down and side imaging run at much higher frequencies, typically 455 and 800 kHz. On spec sheets, that's why the Garmin Striker Vivid 4cv lists 77/200 kHz traditional sonar plus 455/800 kHz ClearVü, and why imaging depth ratings are lower than 2D depth ratings. For lakes, rivers and inshore water, any of these units reaches far deeper than you'll fish.
Step 4: Decide How Much GPS and Mapping You Need
GPS lets you mark spots and find them again. It's the most useful feature after the sonar itself, and it doesn't cost much extra. There are three levels:
- No GPS. Cheapest. The PiranhaMAX 4 DI is an example: sonar and down imaging only, no waypoints.
- GPS with self-built maps. You mark waypoints and the unit records depth contours as you drive: Garmin Quickdraw Contours, Humminbird AutoChart Live, Lowrance Genesis Live. Good for small lakes and rivers with no published charts.
- Preloaded charts. Contour maps loaded out of the box. Retailer listings for the Lowrance Eagle 5 inland bundle, for example, include C-MAP charts covering 17,000+ US lakes. Worth it if you fish large or unfamiliar water.
A fish finder with built-in charts and navigation is often called a chartplotter combo. A depth finder is a simpler unit that shows depth only, with no fish or structure detail.
Step 5: Choose the Screen Size Last
Pick the smallest screen that shows the sonar views you chose:
- 4–5 inches: enough for 2D CHIRP and down imaging when the screen is close to you, as on a kayak, canoe or tiller jon boat. Check resolution too: a 5-inch 800 × 480 screen (Helix 5) shows more detail than a 4-inch 480 × 272 screen (Striker Vivid 4cv).
- 7 inches: the practical minimum for side imaging or a usable split screen of sonar and map.
- 9 inches and up: for larger boats where you view the screen from a console or across the boat.
Larger screens also draw more power and need more mounting space, which matters on a kayak.
What Each Budget Gets You
These are example units we've researched, with prices from listings checked in October 2026. They show what each price level buys; they're not the only good options.
| Product | Rating | Price | Best for | Link |
|---|---|---|---|---|
| Humminbird PiranhaMAX 4 DI | 4.2/5 | ~$180–$190 | Under $200: sonar + down imaging, no GPS | Check price |
| Garmin Striker Vivid 4cv | 4.5/5 | ~$190–$200 | Under $200: down imaging + GPS + Quickdraw | Check price |
| Lowrance Eagle 5 SplitShot | 4.3/5 | ~$300–$360 | $300–$400: preloaded US inland lake charts | Check price |
| Humminbird Helix 5 CHIRP GPS G3 | 4.1/5 | ~$350–$400 | $300–$400: sharp 2D CHIRP + AutoChart Live | Check price |
| Garmin Striker Vivid 7sv | 4.4/5 | ~$520 | $500+: side imaging on a 7-inch screen | Check price |
- Humminbird PiranhaMAX 4 DI4.2/5
- Price
- ~$180–$190
- Best for
- Under $200: sonar + down imaging, no GPS
- Garmin Striker Vivid 4cv4.5/5
- Price
- ~$190–$200
- Best for
- Under $200: down imaging + GPS + Quickdraw
- Lowrance Eagle 5 SplitShot4.3/5
- Price
- ~$300–$360
- Best for
- $300–$400: preloaded US inland lake charts
- Humminbird Helix 5 CHIRP GPS G34.1/5
- Price
- ~$350–$400
- Best for
- $300–$400: sharp 2D CHIRP + AutoChart Live
- Garmin Striker Vivid 7sv4.4/5
- Price
- ~$520
- Best for
- $500+: side imaging on a 7-inch screen
Ratings are our research scores, based on specs, included hardware and price, not hands-on testing.
- Under $200: 2D sonar (CHIRP on some models), down imaging, a 4-inch screen, and on some models GPS. Enough for most kayaks, canoes and jon boats.
- $300–$400: a 5-inch higher-resolution screen and better mapping: preloaded charts or chart-card support.
- $500 and up: side imaging and 7-inch or larger screens. Worth it on big water where finding structure is the hard part.
Frequently Asked Questions
What size fish finder should I get?
For a kayak, canoe or small jon boat, 4–5 inches is enough for 2D sonar and down imaging. Go to 7 inches if you want side imaging or to view sonar and a map side by side. Larger screens make sense when you sit farther from the unit, as on a console boat.
What's the difference between a fish finder and a depth finder?
A depth finder shows the water depth only. A fish finder uses the same sonar to also show fish, structure and bottom type, and most modern units do both. If you only need to avoid running aground, a depth finder is enough; if you want to find fish, get a fish finder.
Do I need GPS on my first fish finder?
It's worth having. Marking a productive spot and finding it again is one of the most useful things a fish finder does, and units like the Garmin Striker Vivid 4cv include GPS for about the same price as models without it.
Is side imaging worth it for a beginner?
Usually not on a small boat or small water. It needs a 7-inch or larger screen to read well, which raises the price and the mounting space. Start with CHIRP and down imaging; add side imaging if you move to big water.
Can I use the same fish finder on my boat and on the ice?
Often, yes. Many units accept a manufacturer ice kit with an ice transducer and battery. Our guide on using a regular fish finder for ice fishing lists which kit fits which model.
Our Recommendation
If you fish from a kayak, canoe or small boat and don't know where to start, get a 4–5 inch unit with CHIRP, down imaging and GPS, and make sure the included transducer mounts the way your boat needs. The Garmin Striker Vivid 4cv is the clearest example: about $190–$200, down imaging, GPS with self-built contour maps, and transom plus trolling-motor hardware in the box. Spend more only for a specific reason: preloaded charts for big unfamiliar lakes, or side imaging on a 7-inch screen.
Keep reading
Best Fish Finder for Jon Boat: 5 Units That Fit a Small Aluminum Hull
The best fish finder for a jon boat, matched to how you'll mount the transducer on an aluminum transom, power it, and read it from the tiller. 5 picks from $180.
Can You Use a Regular Fish Finder for Ice Fishing? (Kayak Units Too)
Yes. A regular or kayak fish finder works on the ice with an ice transducer and a battery. Here's which ice kit fits Garmin, Humminbird, Lowrance and Deeper units.
Best Fish Finder for Kayak: 6 Units Compared for 2026
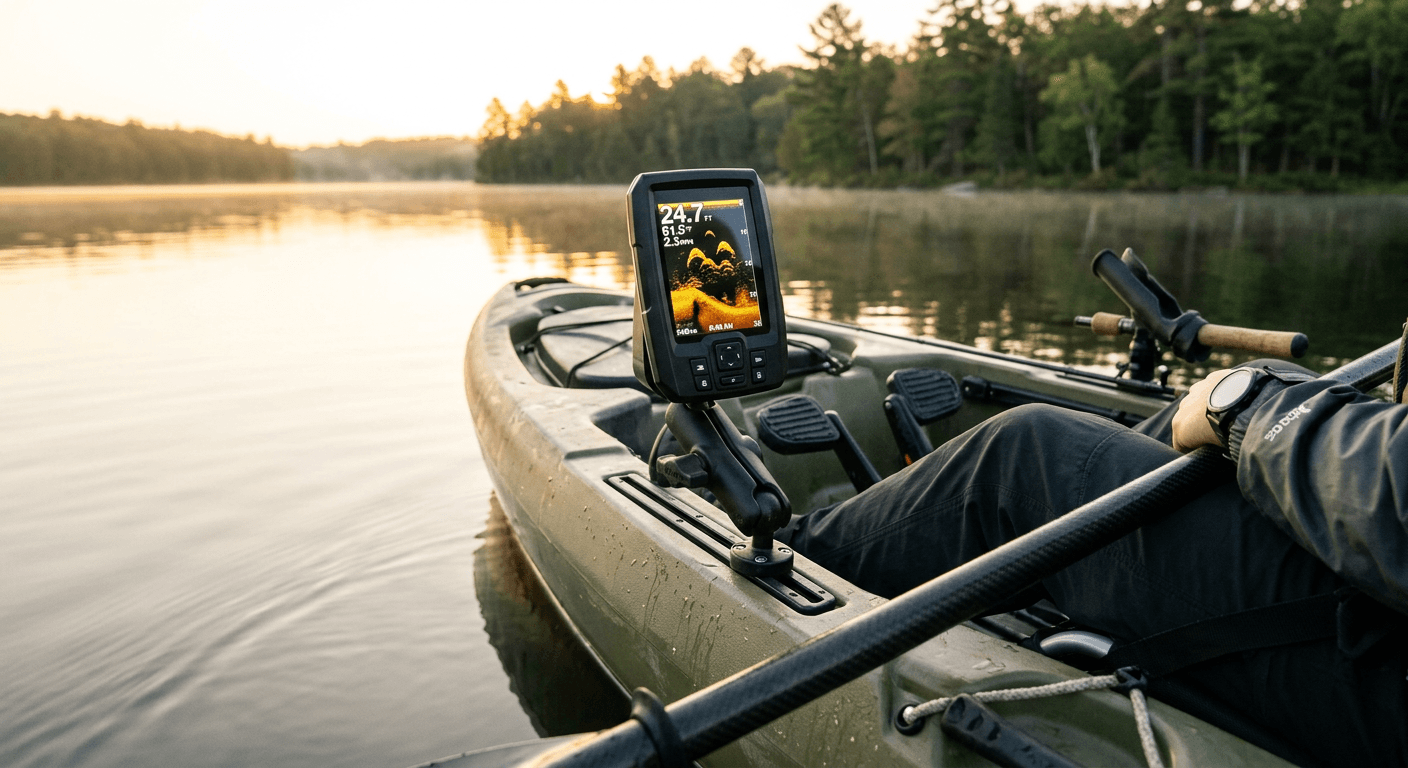
The best fish finders for kayak fishing — from the Garmin Striker 4 budget pick to the Deeper PRO+ castable sonar. Buyer's guide, mounting tips, and honest reviews.